Table of Content
If it is, then put it back in for another 10 seconds. Allow the design to cool completely before handling it. After making sure your iron does not have a steam setting, slowly pass it back and forth over the piece of taped-down paper.
So, we’re going to grab our handy-dandy measuring tape and measure this out. Laundering the T-shirt or fabric before you apply the transfer will preshrink the material and remove any sizing, which will help the transfer stick better. For extra protection against peeling, you can sew a border around the entire transfer image either with a machine or by hand. Higher quality paper should be less like to peel at the edges. When you are done ironing it on the shirt, it cool before you pull it off the shirt. It should come right off and leave the design on the shirt.
Trending Articles
We used one of over 1,000+ cut files from Makers Gonna Learn – just click here to see the cut file we used for this project. If you all want to see files like this plus so many more as well as a great selection of fonts, then please check our membership here. Joy Cho is the Founder and Creative Director of the lifestyle brand and design studio, Oh Joy! She has authored six books and consulted for creative businesses around the world.

If you do use Google, you can click Search Tools, then Usage Rights, then Labeled For Reuse. Also, there are many websites where you can find different kinds of images that are legally safe for you to use, transfer, and sell. In a nutshell, iron-on transfers are images that can be impressed on fabric. On one side is paper, and on the other is the image that will be ironed on and transferred in reverse. After placing the transfer paper on the fabric and running over the back of the paper with an iron, the image is transferred by heat to the fabric. The easiest way to make transfer clothing is by simply buying already packaged transfer kits at a crafts store, art stores, and big box retailers.
Products Related to this Article
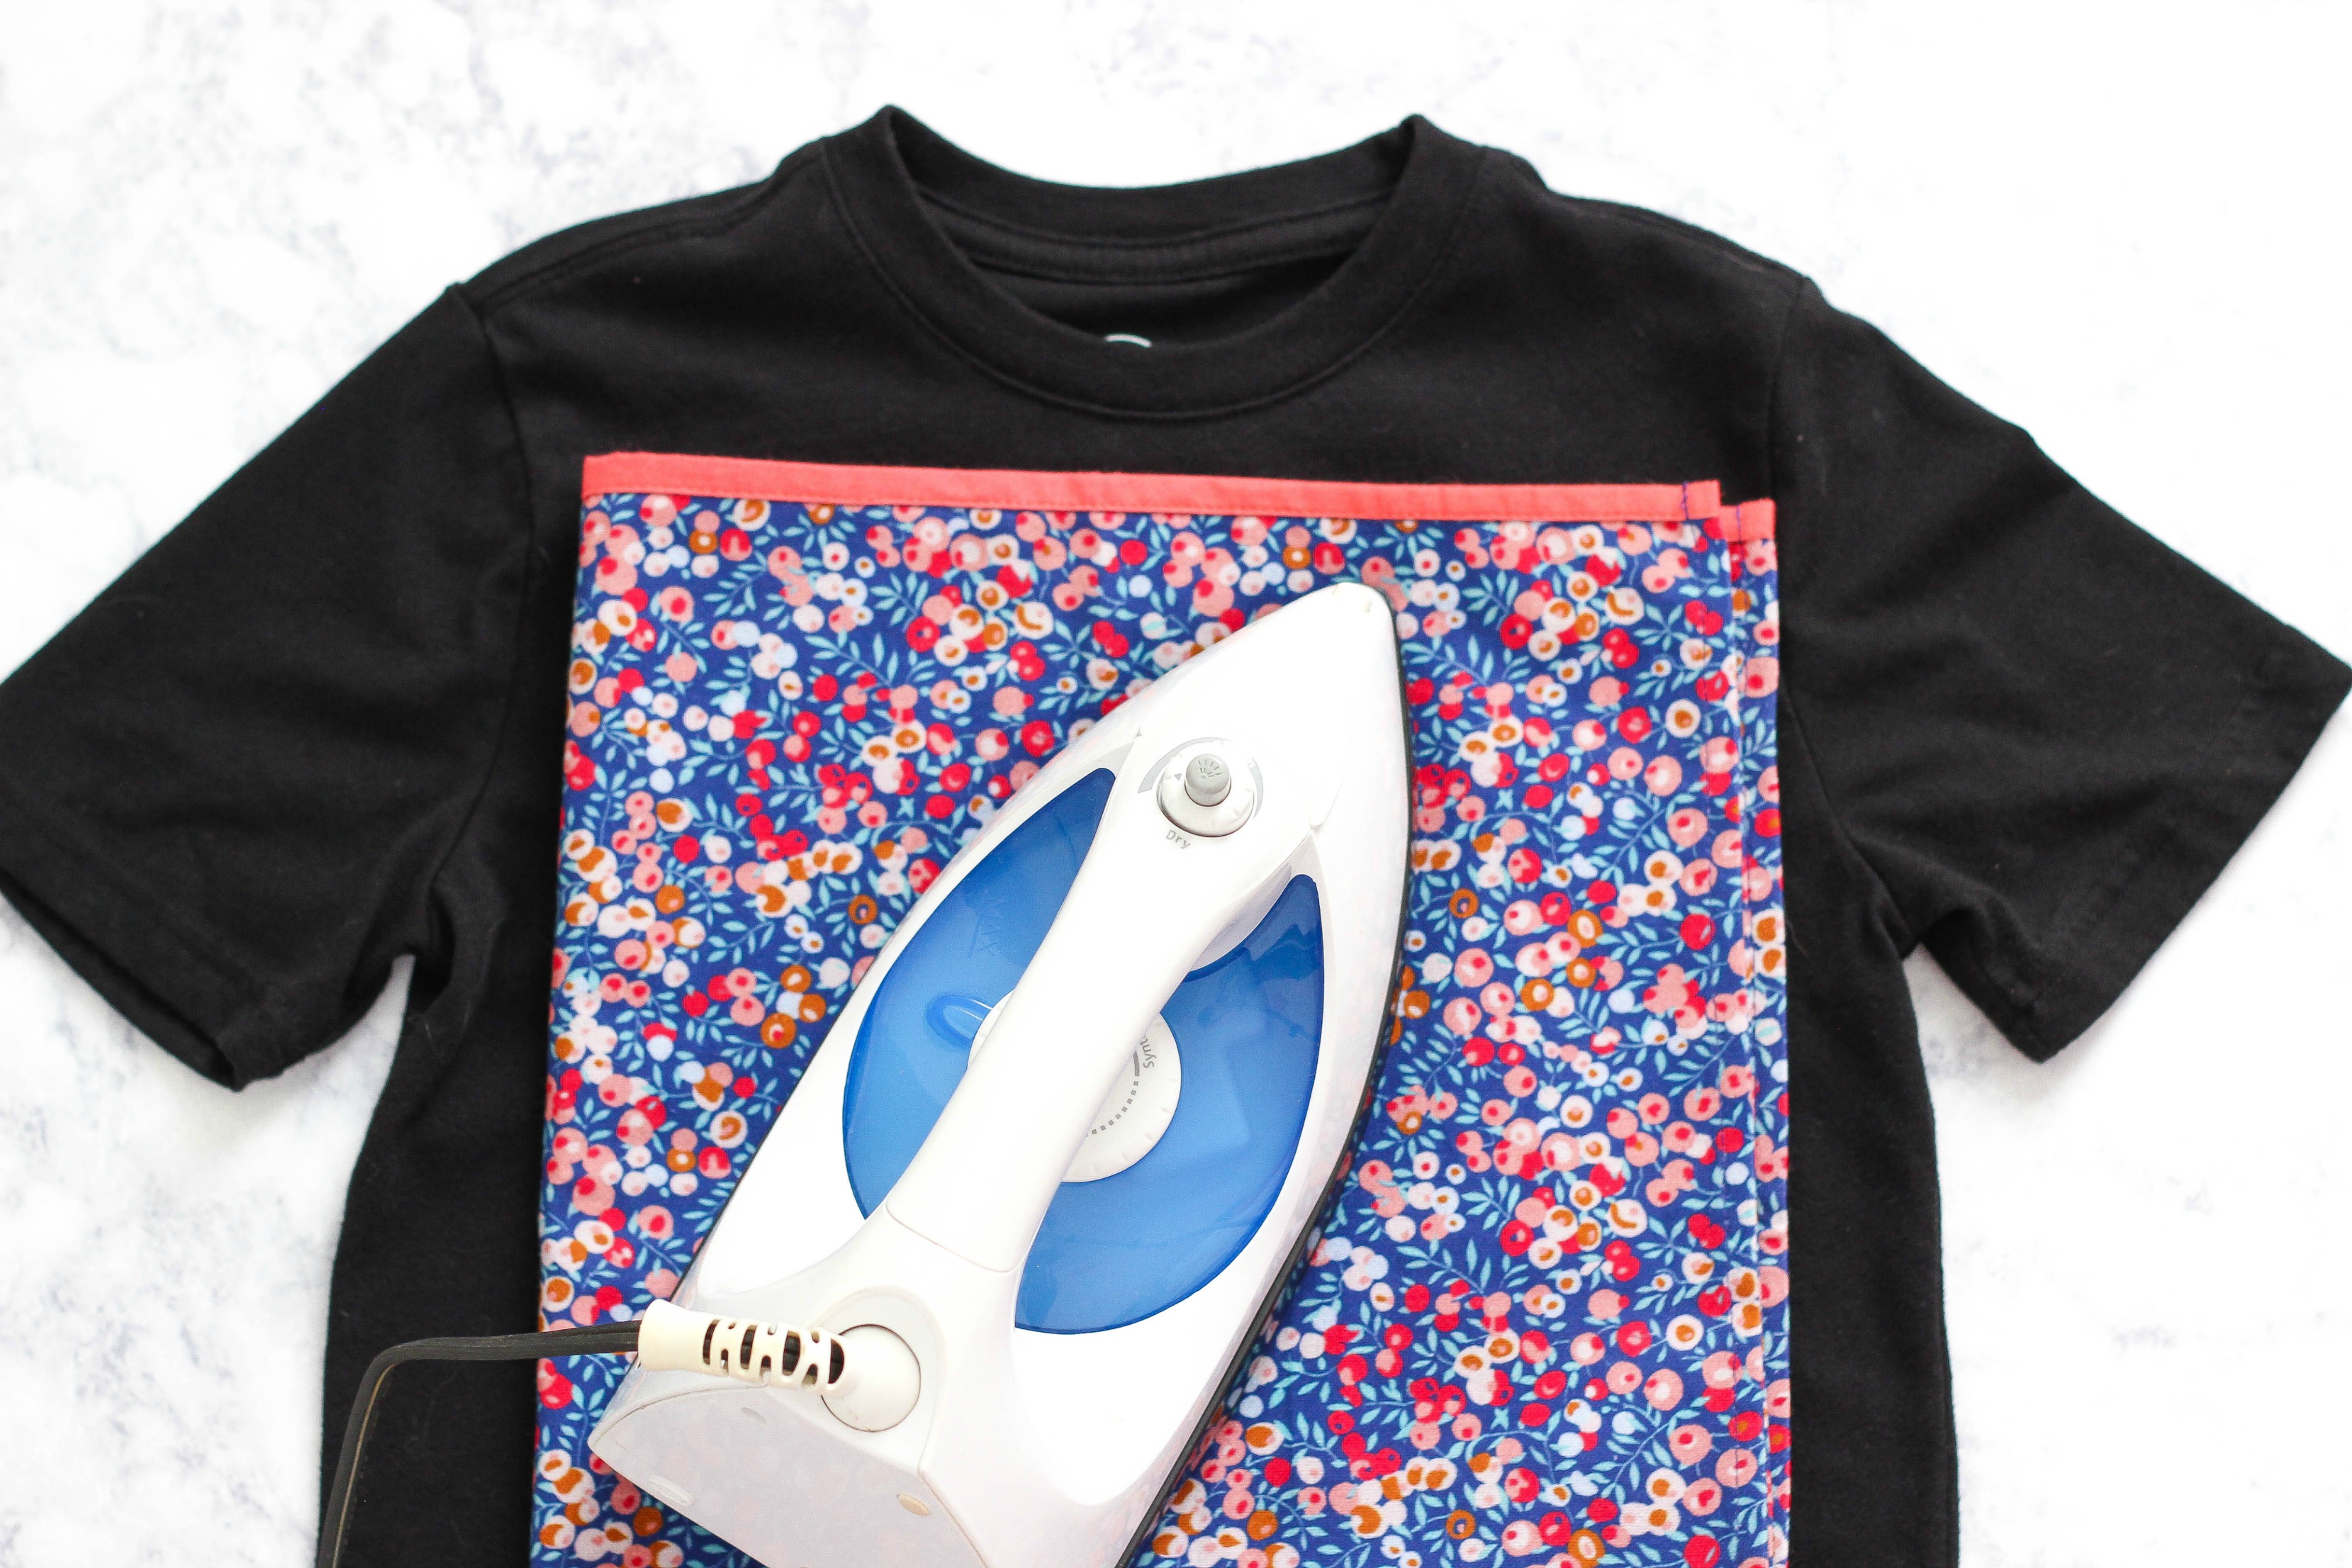
Make sure the surface you choose can withstand heat! Generally, an ironing board is not the best option for the project. Plug your iron in and set it according to the instructions that came with your transfer paper.
Turn on the iron and let it sit for about 5 minutes and make sure the steam is OFF. Make sure you move the iron around on the image and not in one area or it will burn. You want the picture to appear backwards because when you transfer it to the shirt it will be on correctly.
More DIY Shirt Inspiration Using the Cricut Joy!
To ensure the longevity of your transfer, wash garments with iron-on transfers inside out, and avoid dry cleaning. Use cold or warm water as opposed to hot to avoid damaging the transfer. Launder according to the instructions on the garment’s label, but don’t use a harsh detergent, bleach or fabric softener. Inkjet transfer paper, since most home printers are inkjet models.

Apply a bit of pressure, but don’t press down with too much force. Continue moving the iron over the design in a circular pattern for as long as the transfer instructions recommend, typically three to four minutes. Dark-colored transfers are thicker, and are intended to be used withblack tees or other dark-colored shirts. Dark-colored transfers have a white backing, so white areas of the photo will appear in the finished transfer. This also means that any clear background areas will appear white. While not a problem with most photos, if you’re transferring artwork you may need to carefully cut out clear areas before applying the transfer.
If you can’t find it, open your design in an image editing program and flip it. These paper sheets are thicker, and have a white backing so the color white and other light colors can show up distinctly on the darker fabric. The caveat with using this kind of transfer paper is that any background areas of your image will appear white rather than translucent. To make and use an iron transfer, find an image online that you want to use as an iron on.
Do not use iron-on transfers on fabrics that have a finished treatment like nylon jackets, velvet, acrylic fabrics, leather, or vinyl. Doing iron on transfers to these fabrics can potentially melt the fabrics and ruin the material. If you're planning on ironing your transfer onto a dark fabric, the backing of the transfer is going to be peeled off before you iron on the design. When in doubt, look at the instructions that come with the package of transfer paper.
It would help if you waited for at least 24hiurs before you wash the t-shirt. When washing flip, the t-shirt inside out and wash with cold water. Make sure to avoid ironing onto the design since the paint will peel. Once you complete the ironing process, you should leave the t-shirt to cool and dry up before removing the excess trimming. Once the printer prints the transfer paper's design, you need to cut around the print keeping in mind not to cut the design's margins.

Note that it is always better to design your image the way it should appear on the t-shirt. When you are to print it, you must use the mirror or flipped image. Here are the main steps you need to take to print t-shirts at home with an iron. Head to the Cricut Design Space App and choose a project, upload a SVG file, or create your own design in the app using the fonts and shapes available.


No comments:
Post a Comment